REAKTION (MÄNNER)
REAKTION (MÄNNER)
-
Regular price €392,00 EURSale price €392,00 EUR Regular priceUnit price per
€560,00 EUR
SHIPPING POLICY
EU SHIPPING
All Orders ship from our warehouse in 41812 Erkelenz, Germany. We ship Monday - Friday and do our best to process orders as quickly as possible. Typically shipments are processed within one business day of when you place an order.
All orders are shipped with either DPD or UPS.
We offer a flat rate of €7.00 (net) plus statutory VAT for orders up to 30kg.
Any order over a value of €100.0 (net plus VAT) are eligible for free shipping within Germany.
OTHER EUROPEAN (NON-EU) SHIPPING
In addition to shipping costs, the customer may incur additional costs such as national sales tax, import duties and brokerage fees. Please do your due diligence to ensure you know what to expect if ordering from outside the EU.
In addition, we do not ship to countries outside of Europe. If you are in the UK or any non-european country, please visit the specific site for your location. Please contact us if you have any questions.


Free Shipping
Free shipping within the USA for orders over $100 will ship either USPS or FedEx based on the location we are shipping to and the item purchased.
Take it for a Swim
We're confident that we've created the best quality wetsuits for open water swimming on the market, designed to keep you comfortable, buoyant, and swimming faster every time you hit the open water. We encourage you to go for a swim (ideally in open water) with your new wetsuit in order to evaluate the overall fit and performance. Learn More.
Expert Support
Have a question? We're here to answer your product, sizing or ordering questions. Simply chat when we're online or reach out via phone or email. Contact Us.
Easy Exchanges
We offer free exchanges to help you find the correct size. Returns and exchanges are allowed within 30 days of your order. Learn More.
REAKTION (MÄNNER)
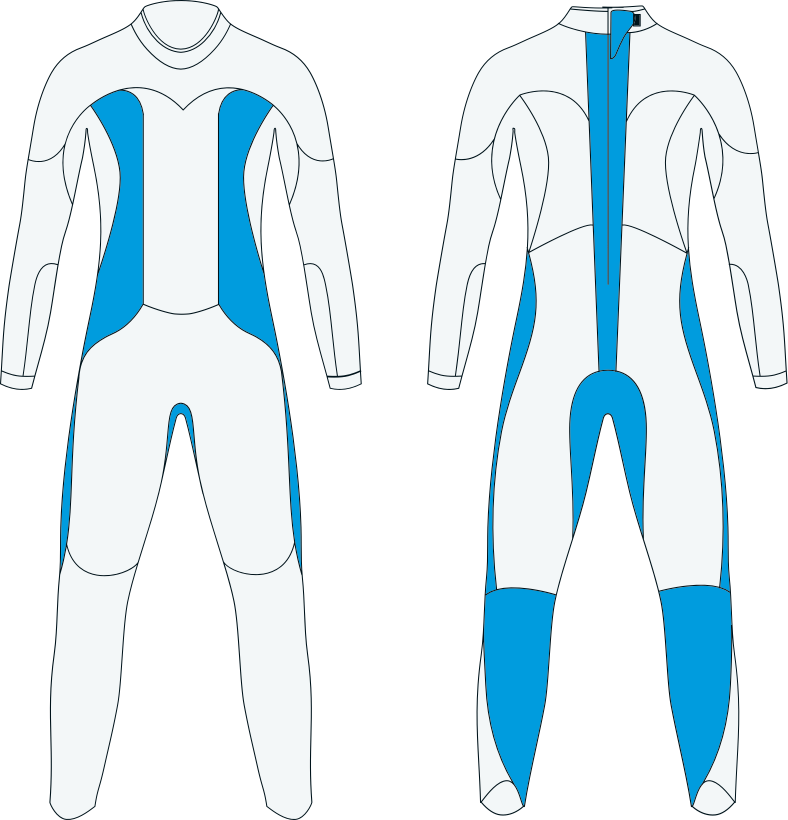
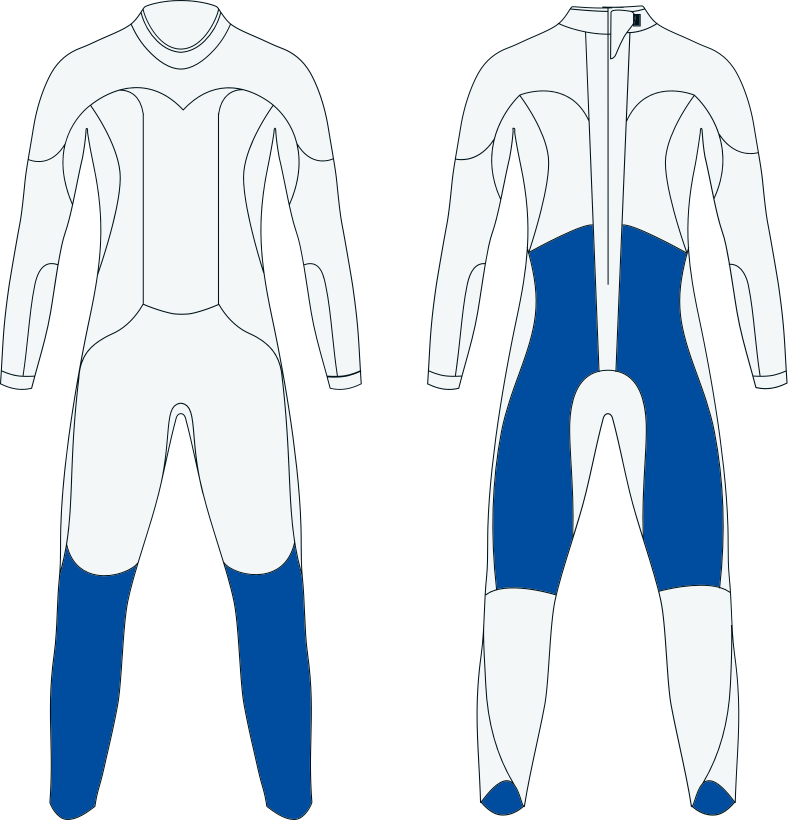
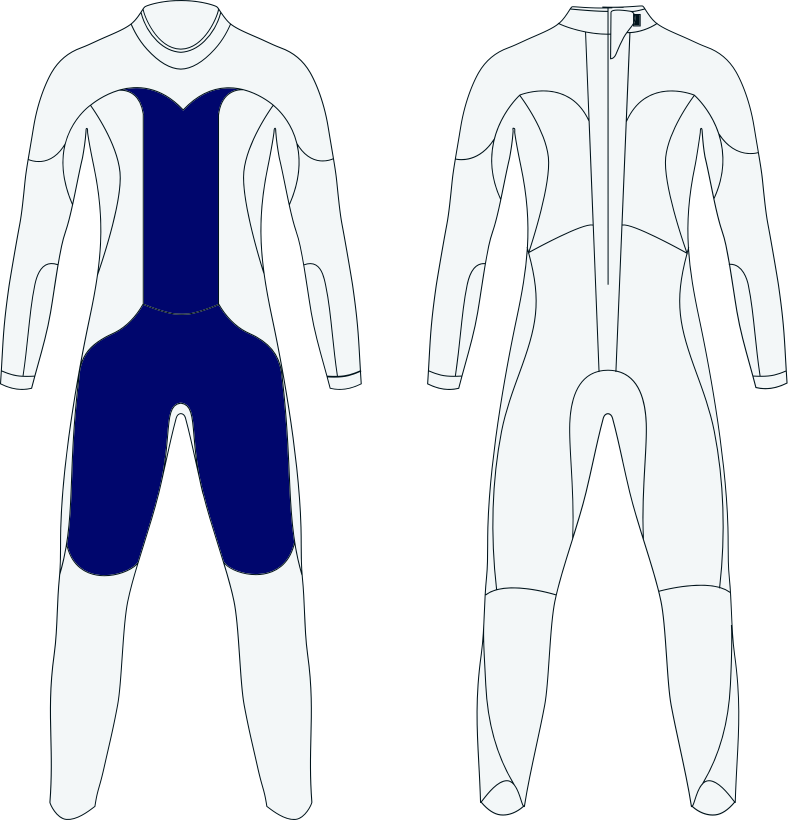
Dieser Neoprenanzug hat alles und kann alles. Der Reaction basiert auf dem Muster unseres professionellen Helix-Neoprenanzugs und wurde neu gestaltet, um die natürliche Körperrotation zu fördern, die Distanz pro Zug zu erhöhen und den Komfort im Nacken zu erhöhen. Was bedeutet das für Sie? Ein flexiblerer, bequemerer Neoprenanzug, der auf Ihre Anstrengungen reagiert und mehr Geschwindigkeit als je zuvor zurückgibt.

Key Features (Click to Expand)
Wetsuit FAQ
Find your size
Use our size finder to pick the perfect wetsuit size. Simply select your gender, then enter your height (ft / in) and your weight (lbs). Click GET MY SIZE for your results.
RACE FIT will be a tight fitting wetsuit that will give you the best overall performance, but may be challenging to get into.
COMFORT FIT will be a more comfortable, easier to don wetsuit, but may not offer the fastest performance.
If you have questions on wetsuit sizing, email us@blueseventy.com.


